
Hi Guys..
Here I am going to explain about deploying a web app on heroku cloud platform.
Steps:
- Create an account on Heroku
- Install Heroku toolbelt on your machine.
- Login to your heroku account from heroku toolbelt.
- you must have github account and a repository cloned to your local system
- Create a ssh key on Github
- add ssh key to your heroku account
- Create an app on heroku.
- add remote heroku git
- push code to heroku
Step 1:
First we need to create an account on Heroku website. Sign up is very easy and quick. Good thing is that developer can register for free for basic account and see their website up and running as subdomain on herokuapp.com looks as http://yourdomain.herokuapp.com
Step 2:
Second step is to download and install heroku toolbelt. heroku toolbelt contains the Heroku client, a command-line tool for creating and managing Heroku apps; Foreman, an easy option for running your apps locally; and Git, the revision control system needed for pushing applications to Heroku. For more detail visit dev center.
Step 3:
After downloading heroku client you can login to it from command-promt/shell and Type heroku login
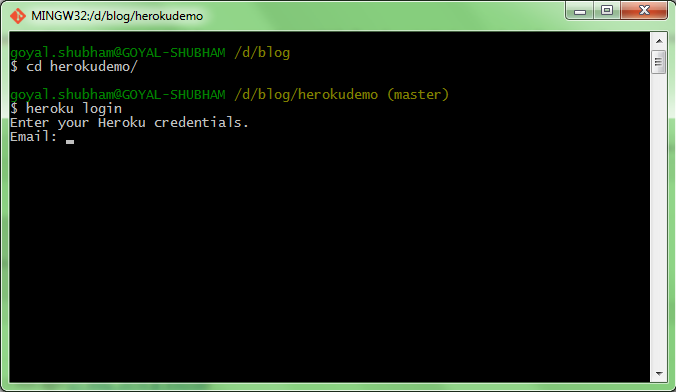
It will promt for the email and password. type accordingly..
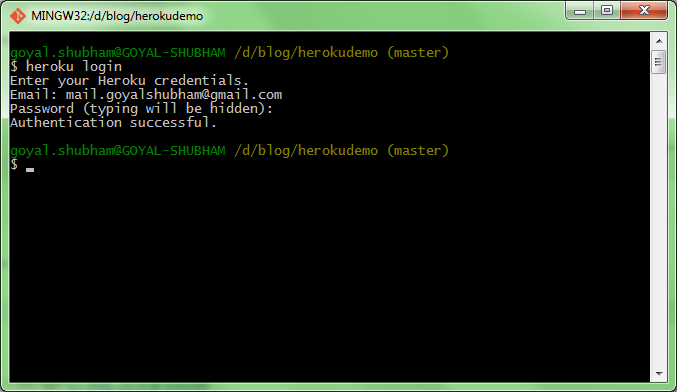
Now you are logged in to your heroku account.
Step 4:
Next step will be to having your github repo at your local system. In my case I have github repo at d/blog/herokudemo
Step 5:
Now we need to push our github code to heroku. To doing so, we need some way to authenticate heroku to read our code from github. Github gives us a way to read repository using SSH keys.
How to create SSH key?
in your command-promt/shell write
ssh-keygen -t rsa
Hit enter. It will ask you to give a file name and password for the keys
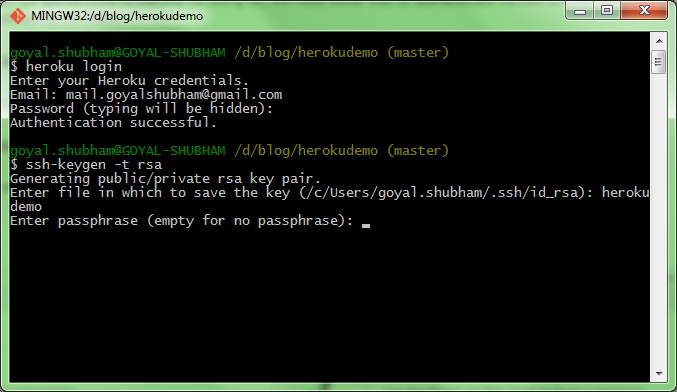
Now go to the folder where it has created the SSH key. In my case its in the same present working directory where I am in shell i.e d/blog/herokudemo
Now open herokudemo.pub in notepad and copy the content.
Now, logged in to your github account and select the repository. In this page you will find setting option at the right side of the page.
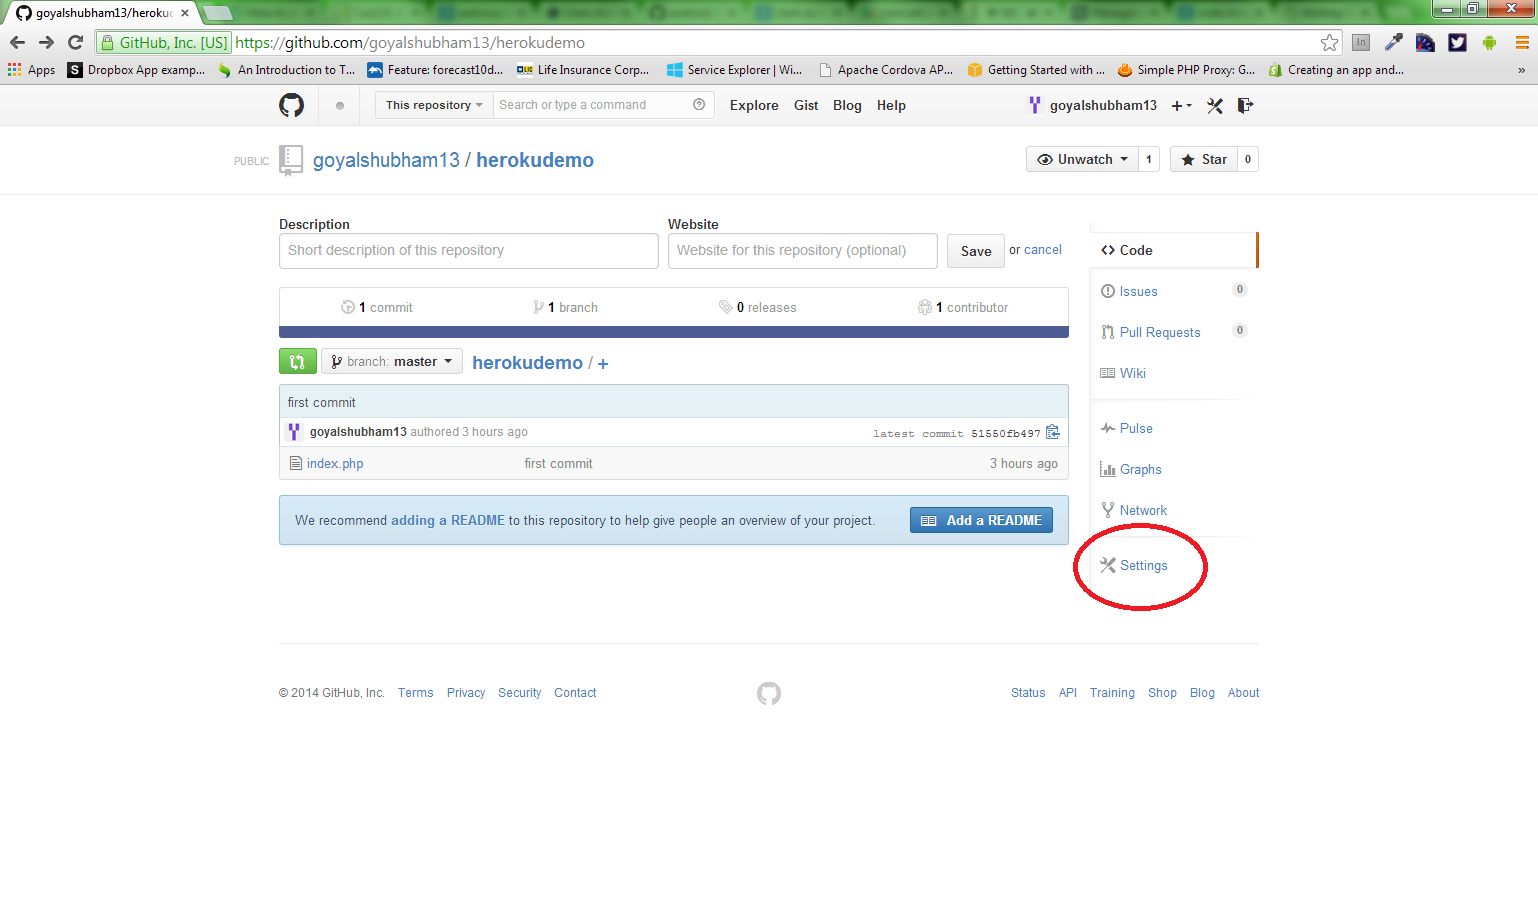
Click on setting and then deploy keys then Add deploy key button.
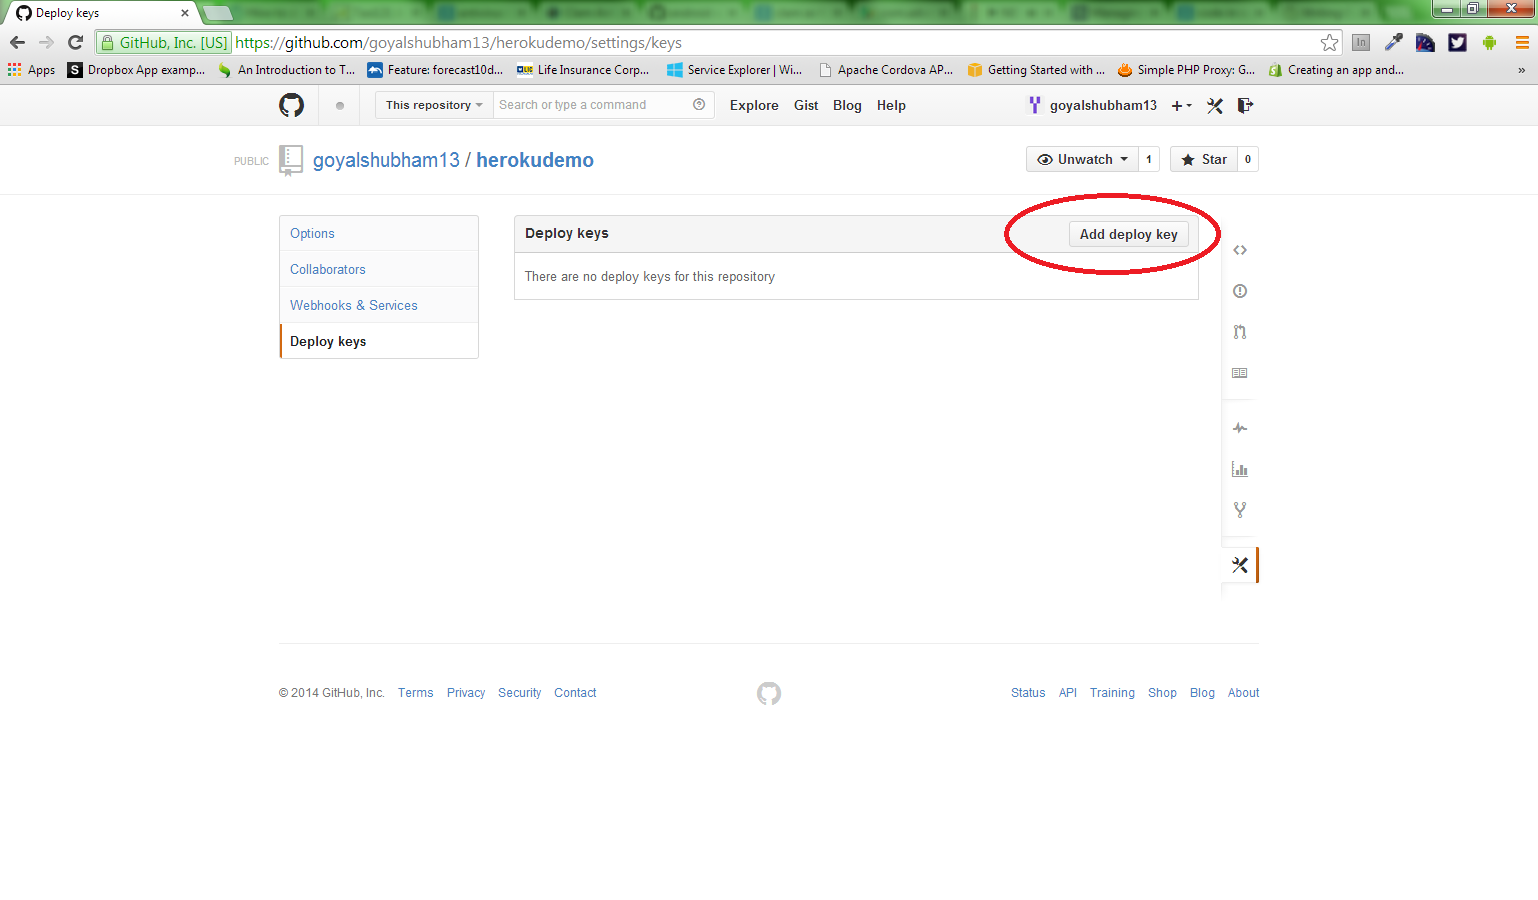
Add a title and content of your herokudemo.pub. click Add Key
Step 6: Add ssh key to your heroku account
copy your ssh key to C:\Users\[username]\.ssh folder
Run
heroku keys:add

choose your ssk key and hit enter. It may ask for password that you have choosen at the time of key generation.
Step 7: Create an app on heroku.
Go to heroku dashboard and click on create a new app link.

Enter a name and click Create App.
Now select newly created app and select setting tab and copy app name. In my case name is heroku-demo-git
Step 8: Add remote heroku git
Open your shell and type
heroku git:remote -a heroku-demo-git
Where heroku-demo-git is your app name copied from the heroku app setting page.
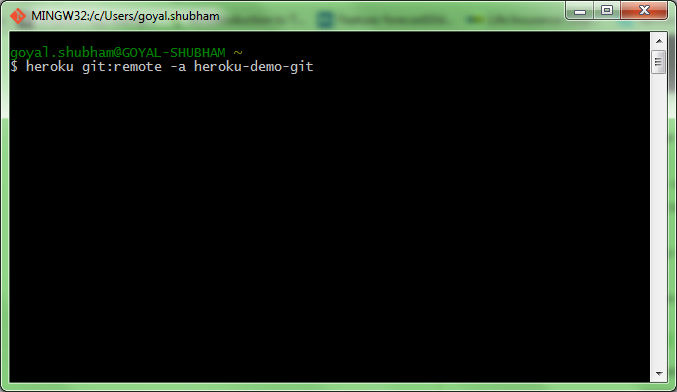
Hit Enter.
It will add remote heroku git to your git repository configuration.
Now move to your project folder and check remote git by
git remote -v
It shows the added remote git.

Step 9: Push code to heroku
Simply run
git push git@heroku.com:heroku-demo-git.git master
Where git@heroku.com:heroku-demo-git.git is your heroku git URL from app setting page.
Hit Enter.
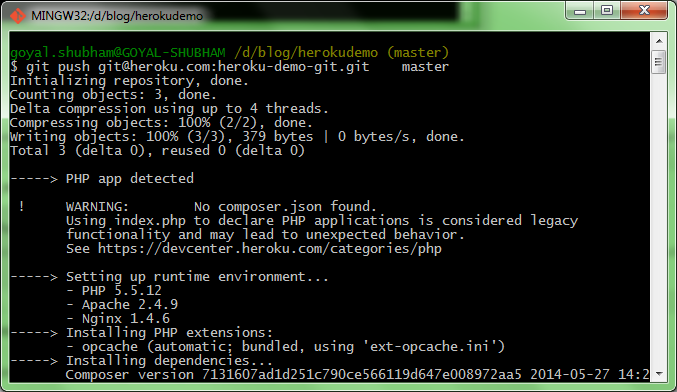
Its Done!! Now visit your newly created app. i.e
