
Being a web developer, I always had confusion about microservices. What the hack microservice is? Is it some kind of fancy word for a concept we already know or is it entirely different alien concept?
Let’s understand it in plain english. Microservice is a concept of building application with more than one independent components called services.
For example, Facebook might have small services for features like profile data, feed data, advertisement, database, caching etc. it means, Facebook might have a separate independent application itself to deliver profile information whenever asked by anyone authorised entity (different service). This completely separate independent application has its own life cycle. We call it a service or micro service. and architecture having lots of such services communicating to each other to serve a set of user is called microservice architecture.
How to develop microservices?
For the sake of simplicity and understanding, microservices can be developed as simple separate applications and deployed on different servers in traditional ways. But containers are pretty popular these days which are independent bare minimum VMs with all the infrastructure needs to run an application.
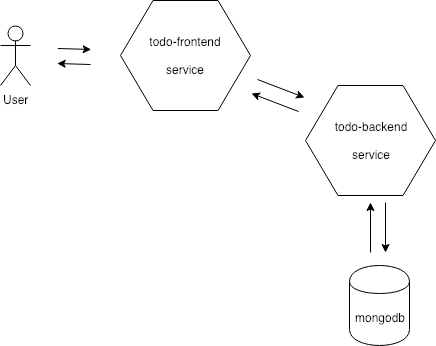
So in short, we can develop a microservice and deploy it with a container. and then these containers can communicate to each other in form of APIs. Below diagram is self explanatory to define the concept.

Each service is being deployed with container and exposing endpoints to communicate with peer service.
Docker
Docker is most popular container based solution available in market. We can build and run docker based containers. We will use docker in this demo and I would expect you to have prior knowledge on this.
Demo
Its enough of theory and let’s move to get our hands dirty.
What are we achieving?
I have downloaded one simple nodejs based todo application to use in our demo. We will modify it to demonstrate the concept. Sample source app on github can be found here – https://github.com/amejiarosario/todoAPIjs
This app has two pieces as front end developed in angularjs and backend developed in expressjs. And it does very simple CRUD operation to simply create, update, delete todo items.
We will try to modify this into two separate microservice with one as frontend only and other is for backend only. We will use mlab.com mongo database to store our data.
We will not discuss development part but will focus on deployment and how to access them within each other. For your reference you can refer github url for both the applications at https://github.com/goyalshubham13/tododemo
Step 1 :
Let’s say we have two expressjs based applications todo-frontend, todo-backend. as a first step, lets write docker file for both of them and they will be similar.
 FROM node:8-alpine

#adding curl in case we need to test url within the container
 RUN apk add --update \
     curl \
     && rm -rf /var/cache/apk/*

#Create app directory
 WORKDIR /usr/src/app

 #Install app dependencies
 #A wildcard is used to ensure both package.json AND package-#lock.json are copied
 #where available (npm@5+)
 COPY package*.json ./

 RUN npm install

 #If you are building your code for production
 #RUN npm install --only=production
 #Bundle app source
 COPY . .

 EXPOSE 3000
 CMD [ "npm", "start" ]
Let’s build our docker image by running docker build -t / . from project directory. Let’s call this image todo-backend. so our command will be docker build -t goyalshubham13/todo-backend .
Step 2:
Now we have our docker image ready which can be verified by running docker images. we can run our container now.
Run docker run -p 8080:3000 goyalshubham13/todo-backend
here we are starting docker container with image ‘todo-backend’ and mapping port 8080 on host machine (our machine) to the port 3000 in container. Meaning 8080 on our machine will hit 3000 on container (container is a small machine itself).
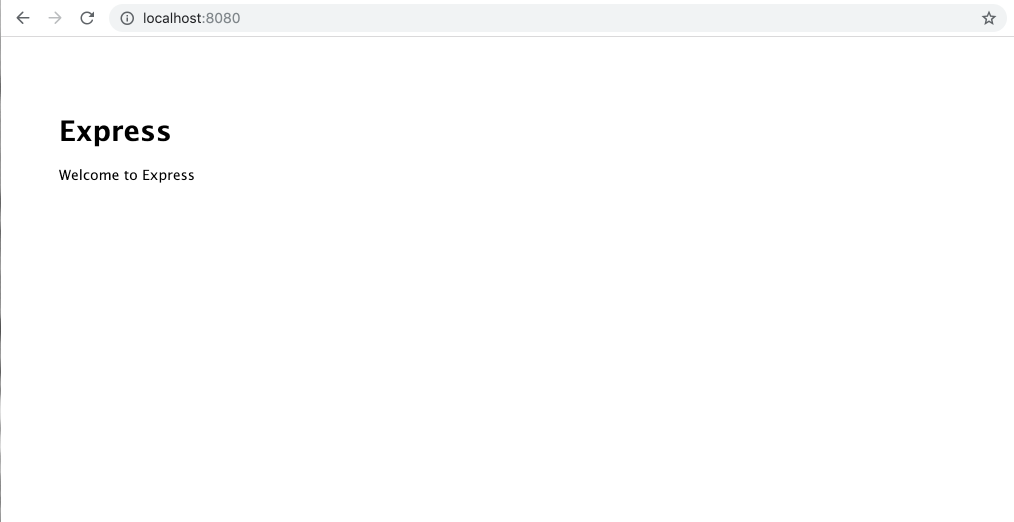
try https://localhost:8080 and you should see welcome page.
Step 3:
Now we know that our backend runs on localhost:8080, so just replace your api calls in your frontend application to localhost:8080.
Create image and run container.
docker build -t goyalshubham13/todo-frontenddocker run -p 8081:3000 goyalshubham13/todo-frontend
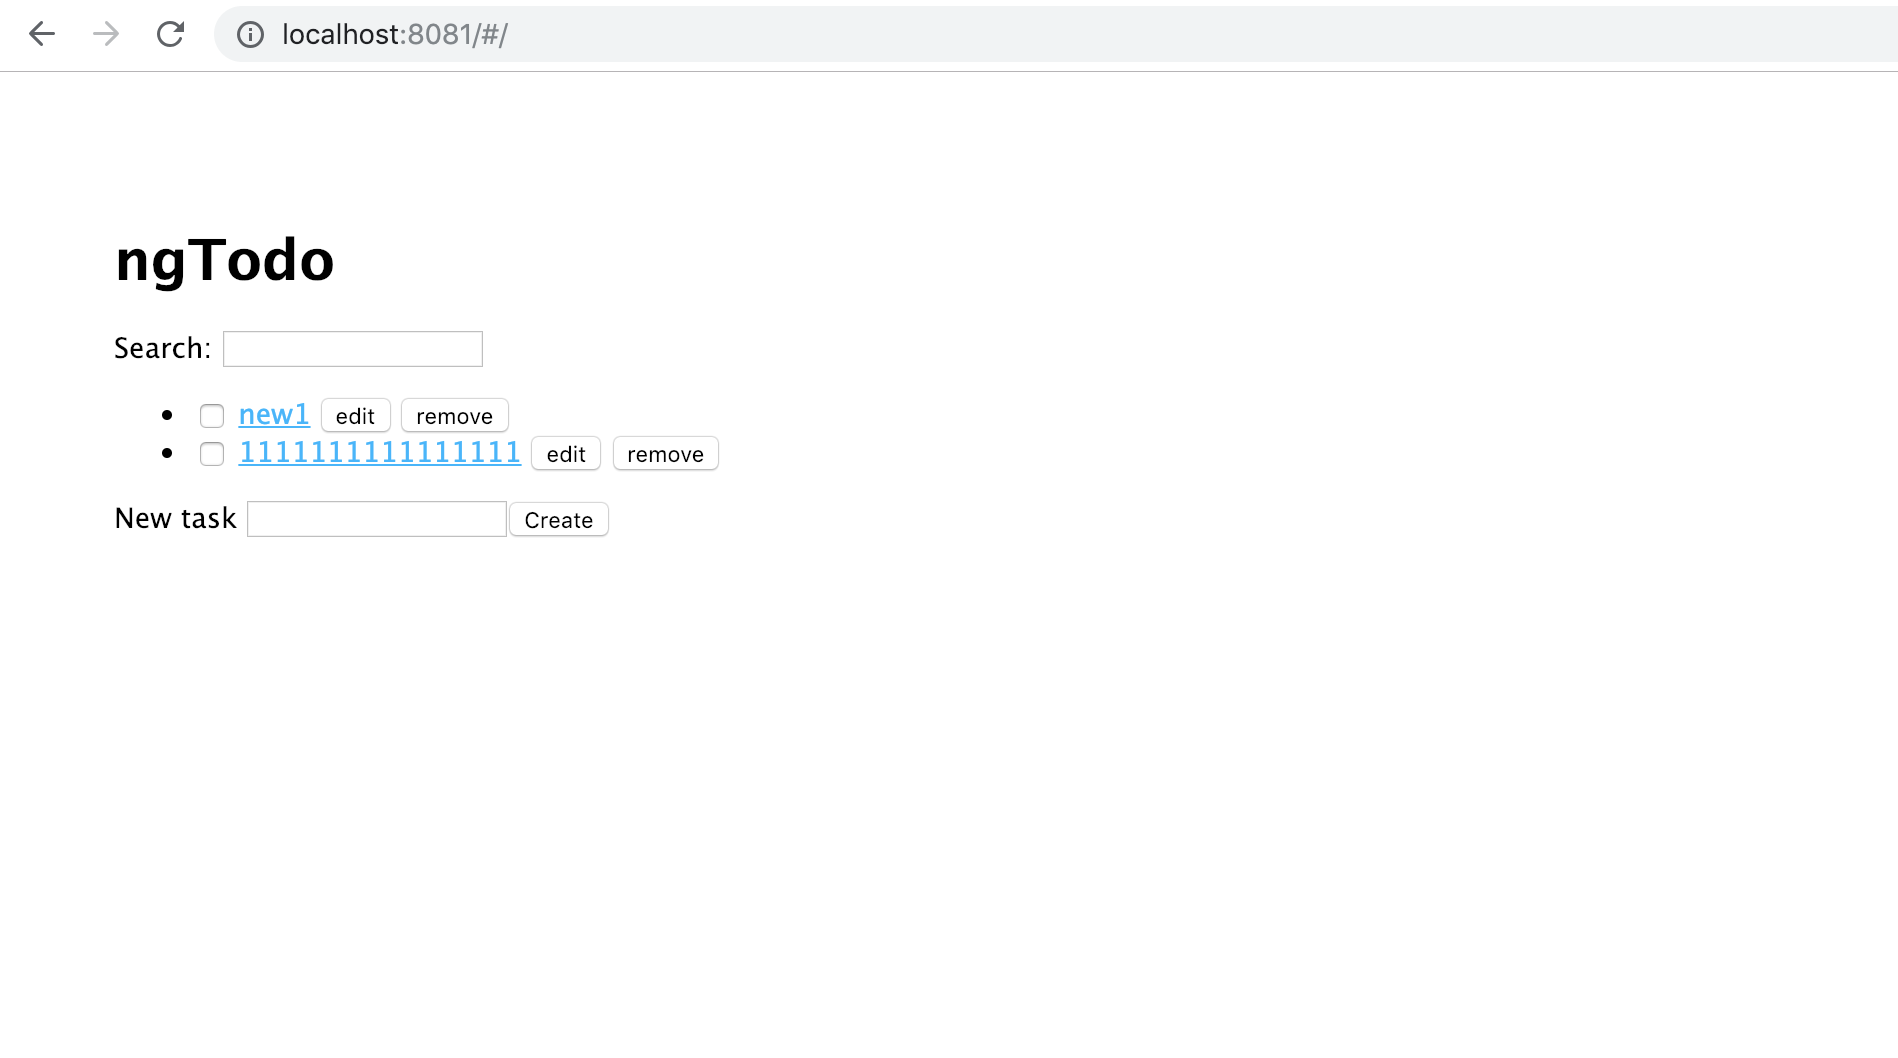
run localhost:8081 in your browser and you will be able to access your complete application.
Above example is to just show how microservices communicate with each other but if we talk about real world implementation then its little different where docker swarm comes into picture where we need to create cluster and distribute application load through out the nodes.
Step 4:
A swarm is a group of machines that are running Docker and joined into a cluster. After that has happened, you continue to run the Docker commands you’re used to, but now they are executed on a cluster by a swarm manager. The machines in a swarm can be physical or virtual. After joining a swarm, they are referred to as nodes.
As next step, lets setup swarm manager by running docker swarm init command. Now this machine becomes swarm manager and you must have seen instruction command to let another machines join to the cluster as nodes as well as managers.
After we do that, lets create a file called docker-compose.yaml where we need to define our services. lets see how it looks.
version: "3"
services:
  server:
    # replace username/repo:tag with your name and image details
    image: goyalshubham13/todo-backend
    deploy:
      replicas: 1
      resources:
        limits:
          cpus: "0.1"
          memory: 50M
      restart_policy:
        condition: on-failure
    ports:
      - "8080:3000"
    networks:
      - webnet
  client:
    # replace username/repo:tag with your name and image details
    image: goyalshubham13/todo-frontend
    deploy:
      replicas: 1
      resources:
        limits:
          cpus: "0.1"
          memory: 50M
      restart_policy:
        condition: on-failure
    ports:
      - "8081:3001"
    networks:
      - webnet
networks:
  webnet:
Please notice we have defined two services in above file called server and client.
Now a very important question and non documented fact is how to access service within the cluster? Meaning how we will call todo-backend endpoints from todo-frontend so that we dont have to be dependent on ip addresses and we dont have to change it every time we deploy our app.
So, as you know that we have defined two services server and client. These names can be anything as per your choice and you can change it in docker-compose.yaml file. These names basically can be used to access the application within the cluster. Meaning todo-backend application can be used with http://server:3000 and todo-frontend can be used with http://client:3001. Please remember, these urls are for within cluster access only. Now let’s do our final change and update todo-backend endpoint to http://server:3000. Please refer https://github.com/goyalshubham13/tododemo/blob/master/todo-frontend/routes/todos.js#L5
lets run below command to create our services:
docker stack deploy -c docker-compose.yaml todoapp
Thats it. our application is accessible at localhost:8081 and we can see that we are able to call backend services to create, update, delete the todo items.
Next, we will see, how to achieve same thing with k8s i.e Kubernetes.
see you later.
Happy learning ♥.
